Adding files and folders
This page explains how to populate and manage the Files pane, the central working area where files and folders are loaded for renaming.
The Add Files and Add Folders buttons on the main toolbar are the most common ways to load items, though several other methods are available and described below.
Adding files using the Add Files dialog
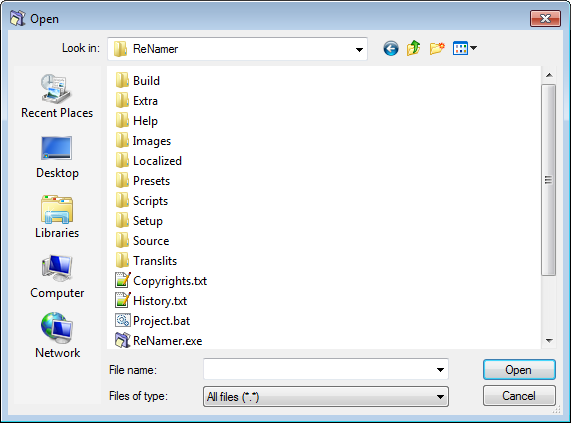
- Click the Add Files button. The file open dialog appears.
- Navigate to the required folder and select the desired files.
- Click OK. The selected files are added to the Files pane.
- Repeat to load files from additional folders as needed.
Adding files using the Add Folders dialog
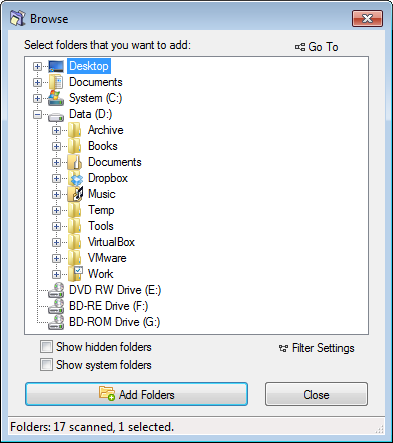
- Click the Add Folders button. The folder browse dialog appears.
- You can select multiple folders by holding
Ctrland clicking each one.
- You can select multiple folders by holding
- By default, the contents of each selected folder are added, not the folder itself.
- To change what gets added, such as including folder entries or limiting by file type, adjust the Filter settings before confirming.
- Select the desired folders and click Add Folders to confirm.
Adding files using the Add Paths dialog
The Add Paths option in the main menu opens a dialog where file and folder paths can be entered or pasted directly as text.
Which items are added from each path follows the same Filter settings as the Add Folders dialog. Unlike the standard dialogs, Add Paths also supports the long path specification (\\?\), making it the appropriate method when working with paths that exceed the Windows 260-character limit. See Long paths for more information.
Adding files using drag and drop
Select files in any application and drag them into the Files pane.
If the window is obscured, drag the selection onto its taskbar button and pause briefly until the window comes to the foreground. You can also enable the Stay on top option to keep the window above all other applications at all times.
Adding files using copy and paste
Select files in any application and press Ctrl+C, then switch to ReNamer and press Ctrl+Shift+V.
Note that the paste shortcut is Ctrl+Shift+V, not the standard Ctrl+V, and the Files pane does not need to be focused for it to work.
Adding files by importing a list
- Import files from text-list or play-list loads file paths from a plain text list (one path per line) or a playlist file in M3U or PLS format.
- Import file paths and new names loads file paths together with predefined new names from a CSV or tab-separated TXT file.
Removing files or folders from the pane
Select the items to remove and press Del. This only removes them from the Files pane. Files and folders on disk are not affected.
Ordering files in the Files pane
Some rules, such as the Serialize rule, process files in top-to-bottom order, so position in the list matters. By default, files appear in the order they were added, with newer additions at the bottom.
To reposition files manually, click and drag a file to the desired location. Multiple files can be dragged as a group. To sort by a column automatically, click its column header. A small triangle indicates the active sort direction. See Sorting files for more detail.
Marking and unmarking files
Marking is independent of selection. Only marked files are previewed and renamed. Unmarked files are skipped entirely.
Unmarking a file is a convenient way to exclude it from renaming without removing it from the pane.
To toggle the marked state of a file, click its checkbox, or select the file and press Spacebar.