Quick Guide
The workflow in ReNamer is a simple 4-step process:
- Add files or folders for renaming.
- Add renaming rules for generating new names.
- Preview the results and address any warnings.
- Rename.
Let's briefly go through the main steps below.
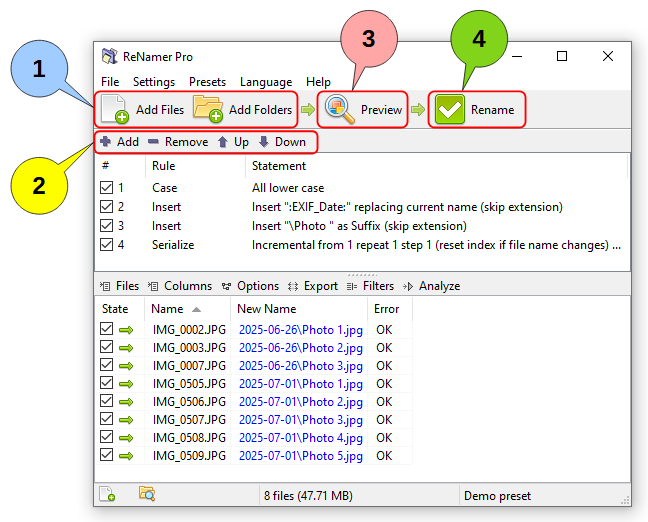
Step 1: Add files
Add individual files or whole folders for renaming using the Add Files and Add Folders buttons, or by dragging and dropping from Windows Explorer (or any other application) into the ReNamer window.
Optionally, adjust the filter settings to control which files and folders get added, including depth criteria and filter masks.
The toolbar above the Files pane and the right-click context menu offer additional options for managing files, including sorting, marking, deleting, importing, and exporting.
Step 2: Add rules
Add and arrange rules to build a sequence of operations for generating new names. Rules can be managed via the toolbar, context menu, or keyboard shortcuts.
Rule sets can be saved as presets for future reuse.
Step 3: Preview
Generate the new names and review the results before renaming. Address any validation warnings.
By default, the auto preview option is enabled, which automatically regenerates new names whenever files or rules change, so pressing the Preview button manually is optional. Additional preview settings offer features like highlighting changed names and resolving conflicts.
Step 4: Rename
Press the Rename button to apply the new names to your files and folders. Files are renamed exactly as shown in the preview.
If needed, the operation can be undone via File » Undo Renaming.